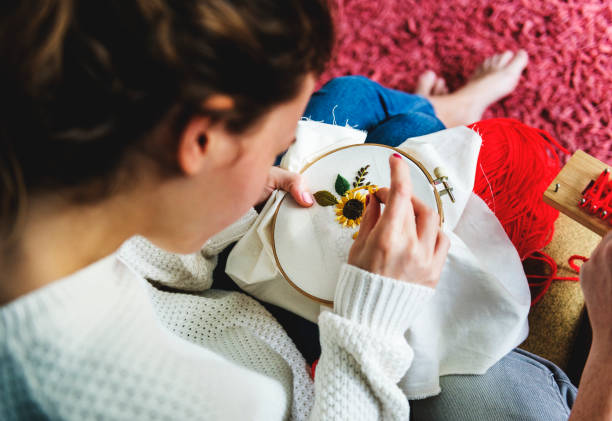
A handwritten note can be a wonderful gift in this age of text and email. A handmade card is a charming way to receive one. The following three patterns all use slow stitching needlework, each a little more difficult than the last. This tradition was fascinating to me and allowed me to practice the control of my stitching. My needle moved up and down through the fabric, creating patterns in the cloth.
Two traditional Asian methods of using the cloth to create new and better fabric inspired me to create Thoughtful Threads Note cards. Sashiko, a Japanese style of stitching popular in Japan for over 400 years, has roots far earlier. Kantha, a type of stitching, is thought to have originated in eastern India and its environs as far back as 500 years ago. Both methods use linear stitching on the cloth to create patterns that are similar to both embroidery and quilting. They also share similarities that relate back to basic over/under flow of weaving. It is fascinating to me that similar styles of stitching have been developed in different parts of the globe. I can also use these as inspiration for my modern projects.
My stitching thread is the weft and the threads that make up the cloth are the warp. My stitching follows the grain lines of the woven threads within the cloth. This allows me to weave over and under the same way as other weaving. There are many design options, but I prefer grid-like patterns. They resemble regular interlacement and the way they weave. I bought a few fat quarters from the fabric shop and used them as the basis for my projects.
Thoughtful Threads Notecards
What you will need:
- A piece of stiff paper larger than your card
- Iron medium-weight fabric. One fat quarter of fabric will make four cards.
- Scissors
- Photo frames cards
- I like a fabric marking pencil.
- Ruler
- A sashiko needle is the best choice for long stitching.
- Sizes 3, 5, and 10 crochet cotton (3/2-5/2 or 10/2 pearl cotton).
- Washcloth
- Iron and ironing board
- Optional: Fabric glue
General Instructions:
Step 1. Then, cut the rectangles.
Step 2. Mark the area with the fabric marking pen.
Step 3. Below are the details for each pattern.
Step 4. Thread your needle with a piece about 20 inches long of crochet cotton. If you go longer than this, the thread will tangle and become difficult to work with.
Step 5. Use a damp washcloth to wipe away the chalk lines.
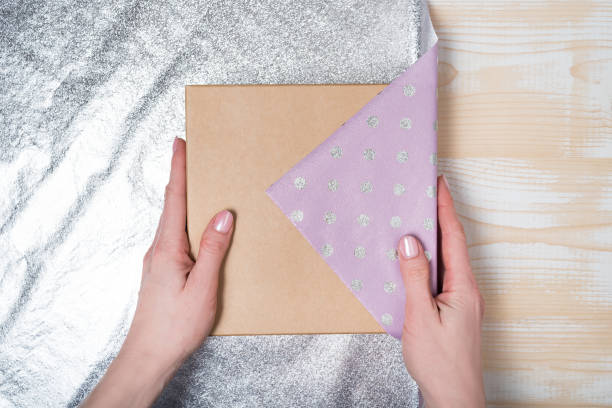
Step 6. A little glue can help to hold the fabric in its place. You should only use a very small amount of glue to avoid the paper from creasing.
TIPS TO SUCCESS
Before you sew, iron the fabric to remove any wrinkles or fold marks.
Be sure to measure carefully as you stitch the first row. This will ensure that the spacing between the stitches is correct. It’s simple to follow the spacing guidelines for the rest of the project once you’ve completed the first row.
Use the knots at the ends to create a tighter join when you add new lengths of thread.
Avoid pulling too tightly on the sewing to keep the fabric from puckering